
Install Visual Studio Code
Visual Studio Code is a versatile, user-friendly source code editor that supports extensions for multiple languages, including C#, C++ and python. Follow these steps to install Visual Studio Code on Mac OS and set up the necessary extensions.
Install Visual Studio Code
Section titled “Install Visual Studio Code”-
Download
Visual Studio Code, found at code.visualstudio.com. -
Install Visual Studio Code.
Installing Extensions for Development
Section titled “Installing Extensions for Development”After setting up Visual Studio Code, enhance your development environment by adding essential extensions for C#, C++, and Python. These extensions provide robust tools for coding, debugging, and code intelligence, making your setup complete for SplashKit projects.
C# Extensions
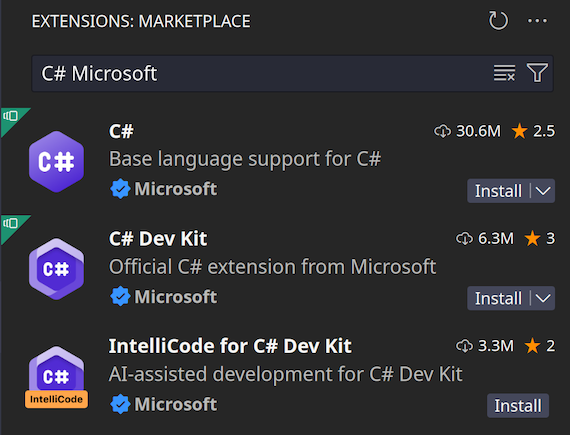
Section titled “C# Extensions”You can install these C# extensions directly from the terminal by running:
code --install-extension ms-dotnettools.csharpcode --install-extension ms-dotnettools.csdevkitTo add these extensions within Visual Studio Code:
- Open the Extensions view by pressing
Command+Shift+X. - Search for “C#” and the top 2 extensions listed above should appear. Click Install for each. If they don’t then search for them individually.
C++ Extensions
Section titled “C++ Extensions”To install the C++ Extension Pack directly from the terminal:
code --install-extension ms-vscode.cpptools-extension-packTo add the C++ extension within Visual Studio Code:
- Open the Extensions view (
Command+Shift+X). - Search for “C++ Extension Pack” and click Install.
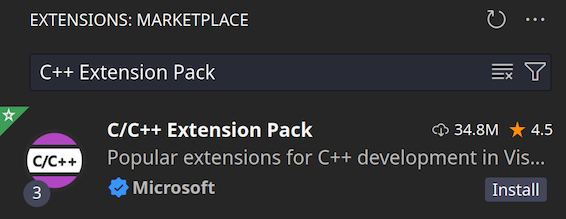
Install the C++ Extension Pack for comprehensive C++ support:
C++ Extension PackPython Extensions
Section titled “Python Extensions”To install the Python extension directly from the terminal:
code --install-extension ms-python.pythonTo install the Python extension within Visual Studio Code:
- Open the Extensions view (
Command+Shift+X). - Search for “Python” and click Install.
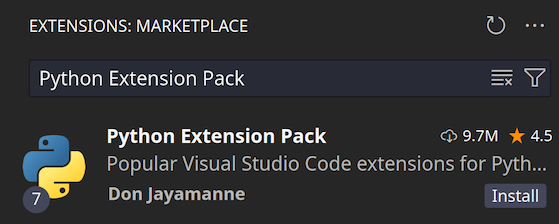
For Python support, install the Python extension from the Visual Studio Marketplace:
PythonNext Steps
Section titled “Next Steps”Congratulations! You’ve completed the setup of everything you need to get started with SplashKit. You’re now ready to start developing.